Azure Managed Identity - access to Graph API and Azure resources
Introduction
Nowadays and with Azure, many resources interact with each other and therefore need some type of authentication. As credentials through passwords is no longer considered as safe, we need other secrets to provide authorized access.
This is where Managed Identities come to play - they allow for a secure access to Azure resources, where you can enable the Managed Identity per resource instance. It is comparable to a service principal, but we never know any credentials, instead Azure manages everything. This identity can then be used to get assigned to Azure IAM (identity + access management) rights of other resources. View a list of Azure services that support Managed Identity. Also consider automation through Azure Automation Accounts and Runbooks (PowerShell).
What is a Managed Identity?
- System-assigned
- Created and directly dependent on the life cycle of the Azure resource instance. (if you delete the resource, the Managed Identity will be deleted)
- Only associated to a single resource
- User-assigned
- Created as stand-alone resource, which means that you create a user-assigned managed identity and are responsible for its life cycle
- Pro: you can utilize the same user assigned Managed Identity for multiple workloads/resources
Compare the different Managed Identity types
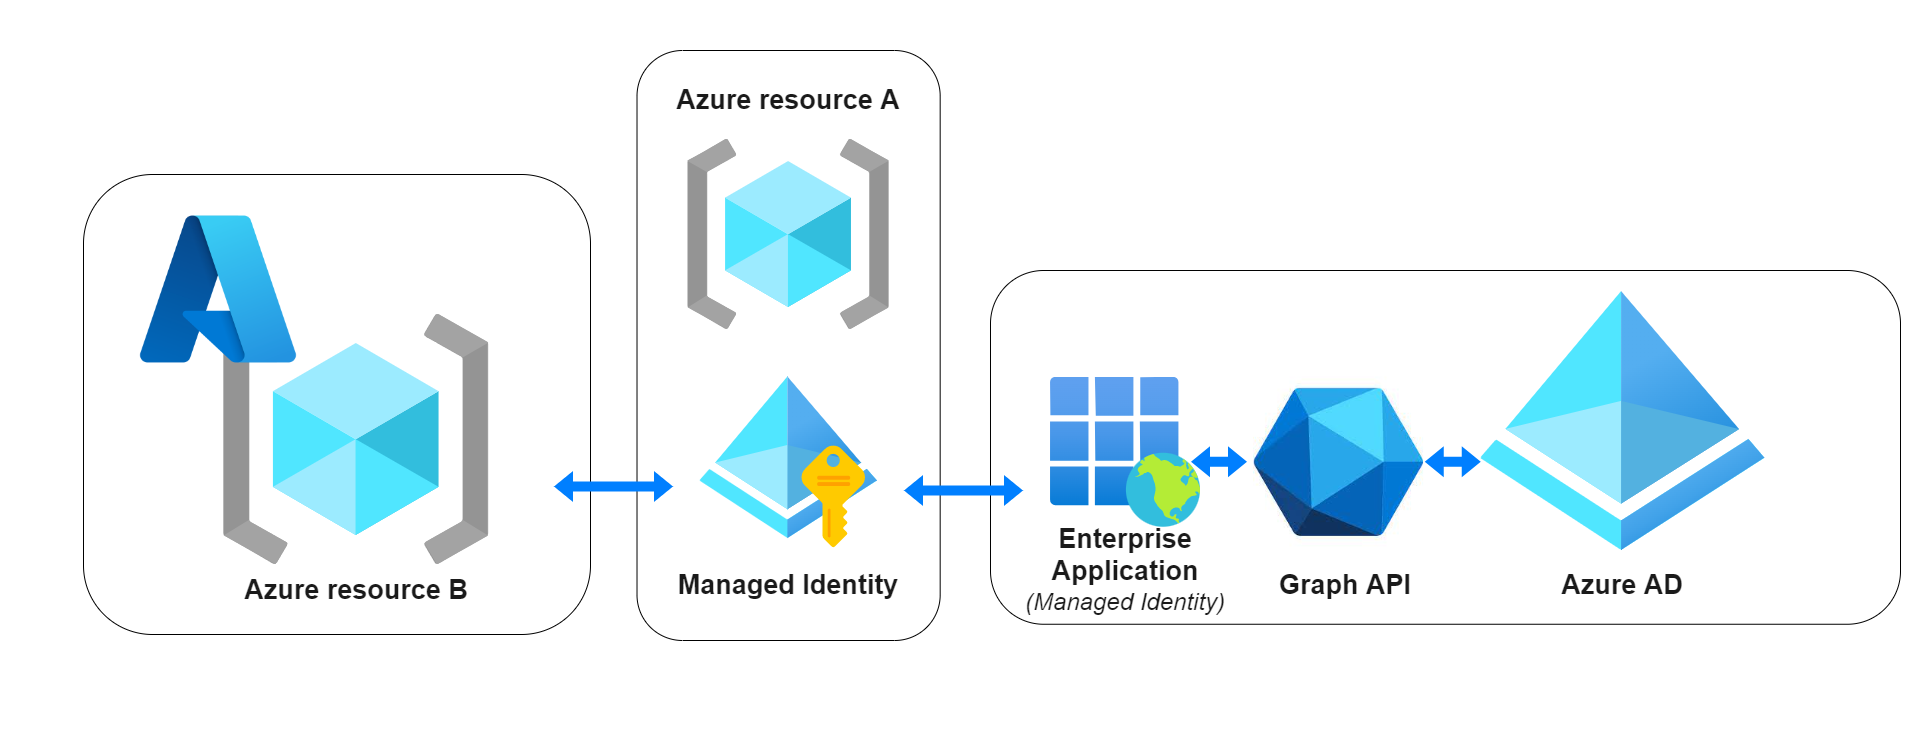
Solution concept
In the center we have any Azure resource A, that uses its Managed Identity. We could either:
- Interact (read or manipulate) with Azure AD through Microsoft Graph (Learn more), which works through an Enterprise Application that has appropriate permissions for Graph API.
- Do anything (covered from an IAM permission) with an Azure resource B.
Graph API access to Azure Active Directory through Enterprise Application
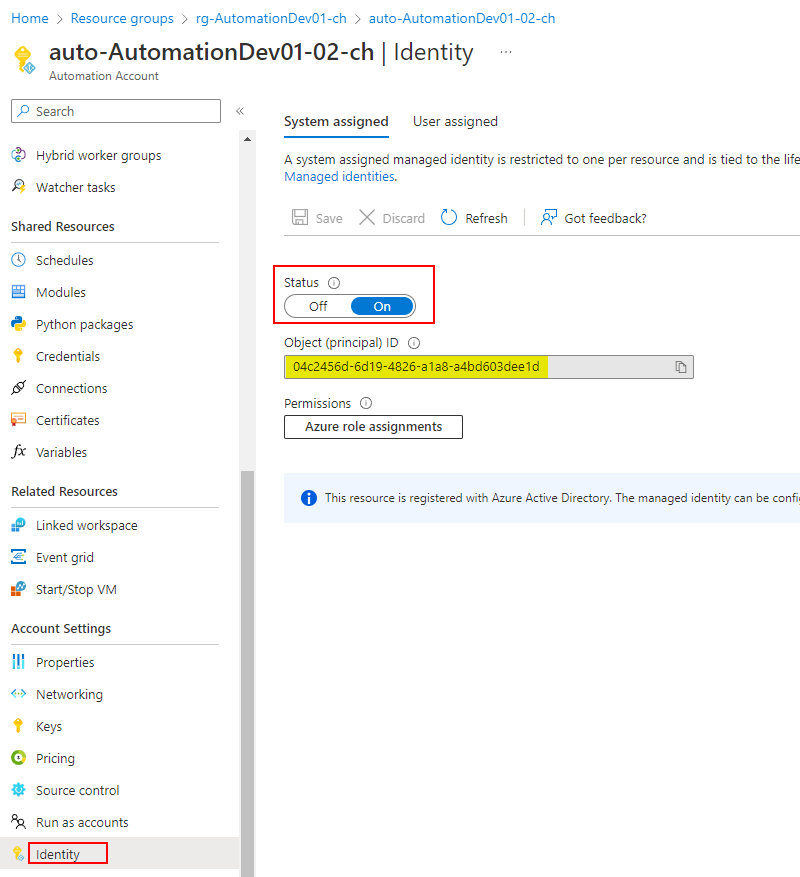
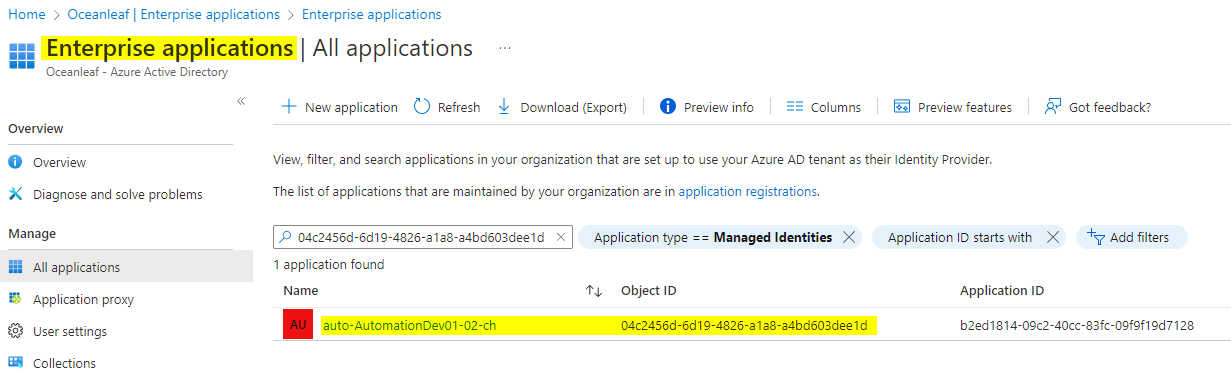
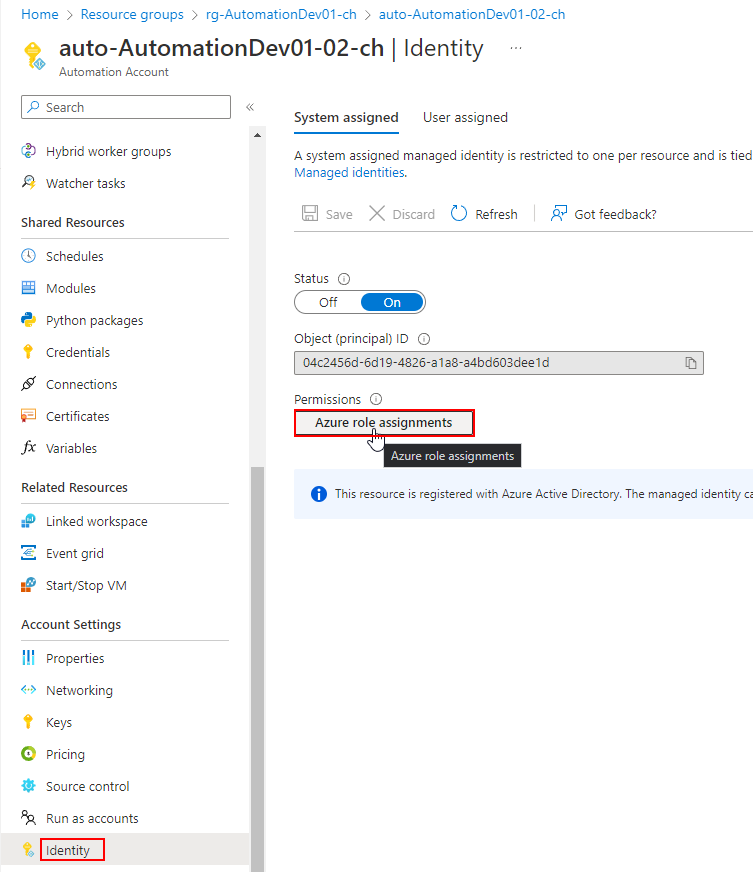
The Managed Identity can be used to retrieve Azure Active Directory data. This works through an Enterprise Application that has Graph API permissions assigned. (Learn more about it) As of now, we need to assign the permissions through PowerShell. What you individually need for this, is the Managed Identity Object (principal) ID, that can be found through one of these ways:
Azure resource instance
The ID is in the service instance/resource under Identity.
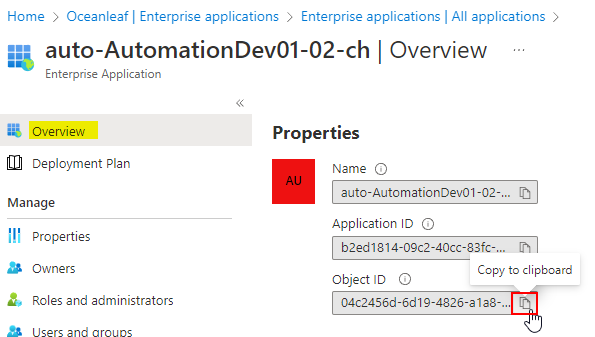
Azure AD Enterprise application
The Managed Identities are also found under AzureAD>Enterprise Applications. Set the filter to 'Application type == Managed Identites'. The name is equal to the Azure resource instance.
Assign permissions to an Enterprise Application
Replace the following in the script:
- Copy the Object (principal) ID from the step above and replace it
- Insert the desired Graph API permission. Find all Graph API permissions
Now run the script:
Install-Module Microsoft.Graph -Scope CurrentUser

Connect-MgGraph -Scopes Application.Read.All, AppRoleAssignment.ReadWrite.All, RoleManagement.ReadWrite.Directory

$managedIdentityId = "<Managed Identity Object ID>"
$roleName = "<Graph permission>"

$msgraph = Get-MgServicePrincipal -Filter "AppId eq '00000003-0000-0000-c000-000000000000'"
$role = $Msgraph.AppRoles| Where-Object {$_.Value -eq $roleName}

New-MgServicePrincipalAppRoleAssignment -ServicePrincipalId $managedIdentityId -PrincipalId $managedIdentityId -ResourceId $msgraph.Id -AppRoleId $role.Id

Disconnect-MgGraph
Thanks to Jannik for the script!
Use case: Automation account + Managed Identity
A common reason for Managed Identity is the authentication of an automation solution such as Azure Automation Account with a Runbook. With this you can schedule and run tasks that need API's of Azure AD or any other Azure resource.
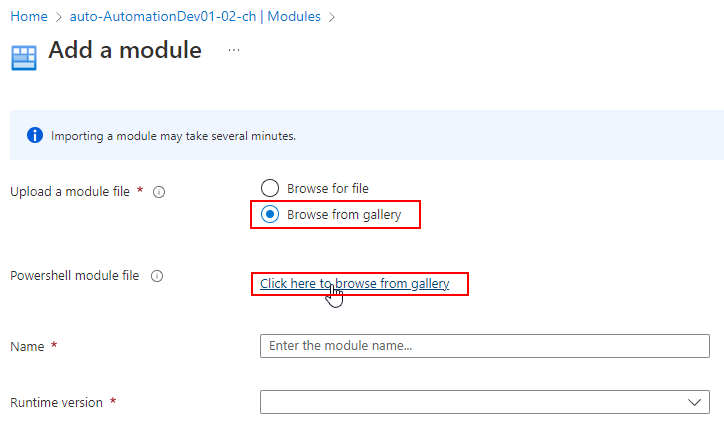
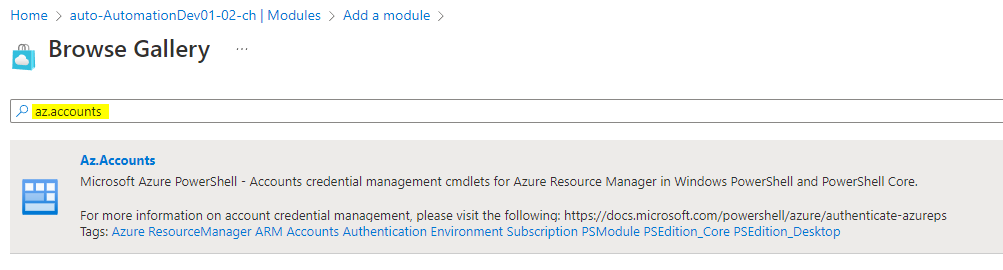
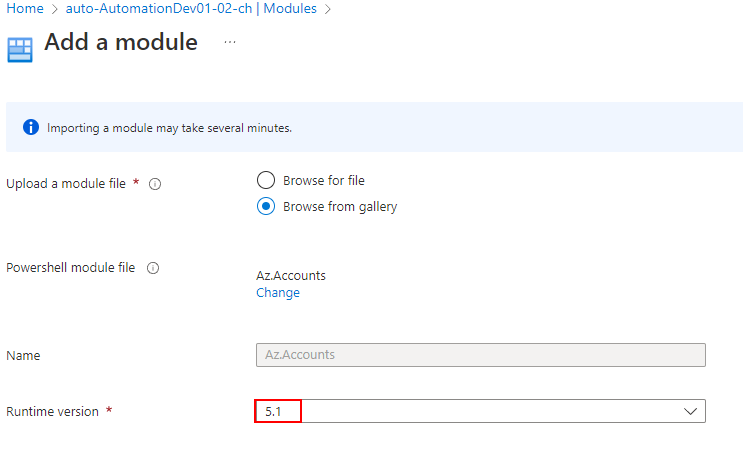
Before we can connect through the Managed Identity, it is crucial to add the Az.Accounts Module.
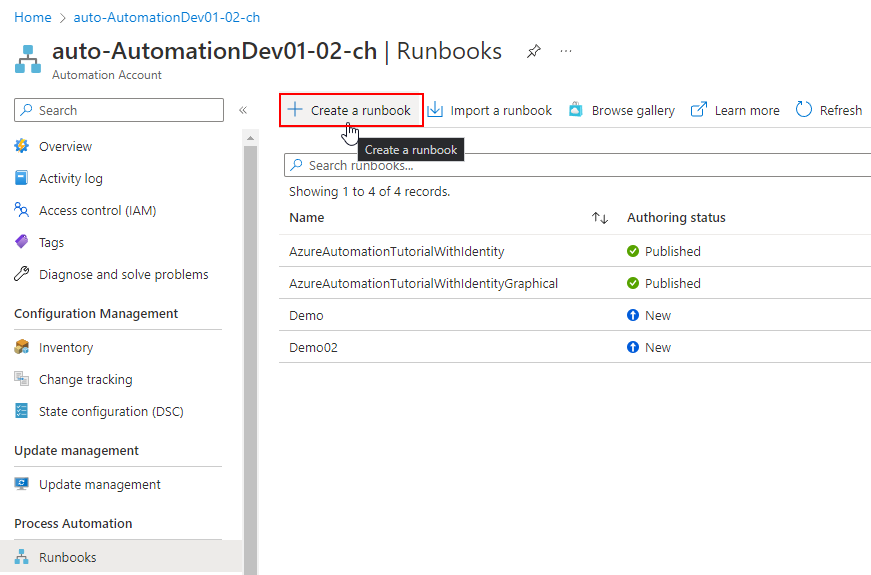
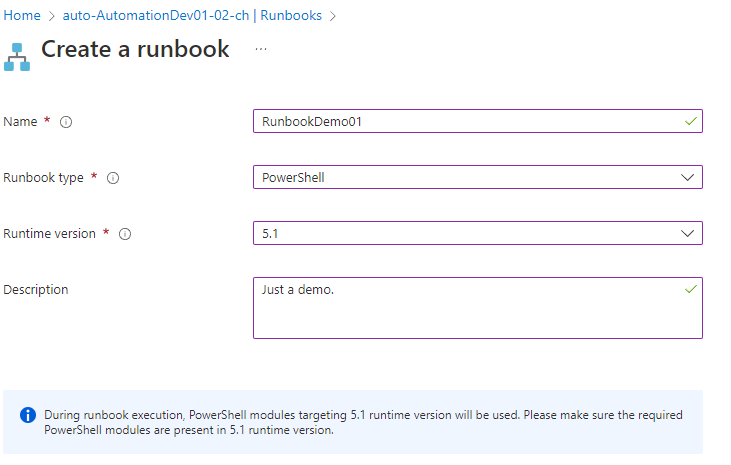
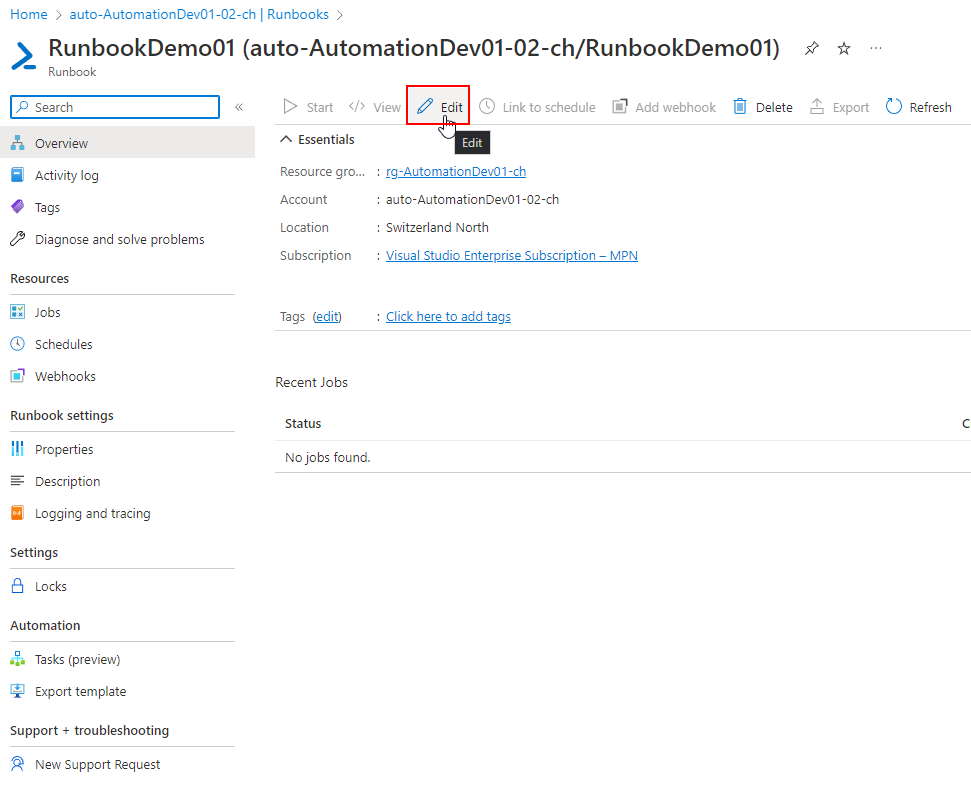
Create a Runbook
Let's create a Runbook in the Automation Account. With a PowerShell based Runbook, we can directly edit and run PowerShell commands in a dedicated session. These can be attached to a schedule, to run on a regular basis.
Now in a Runbook, you can insert the following, to authenticate with the Managed Identity of the Automation Account. The -Identity parameter, specifies that we want to use the Managed Identity.
#Connect to Az Account with the Managed Identity
Connect-AzAccount -Identity
Now you can perform various commands that are under the covering of the Az Module.
Runbook authentication - Connect to Graph API with Managed Identity
First of all, import the Microsoft.Graph.Authentication module.
Now to talk to Graph API (which is the easiest and best way for automation purposes), you can insert this code. It connects to Az again, and uses the access token for the authentication to Graph API, which is also the easiest way. (Consider the deep dive below)
#Connect to Az Account with the Managed Identity
Connect-AzAccount -Identity
#Extract the access token from the AzAccount authentication context and use it to connect to Microsoft Graph
$token = (Get-AzAccessToken -ResourceTypeName MSGraph).token
Connect-MgGraph -AccessToken $token
#Sample Microsoft Graph query
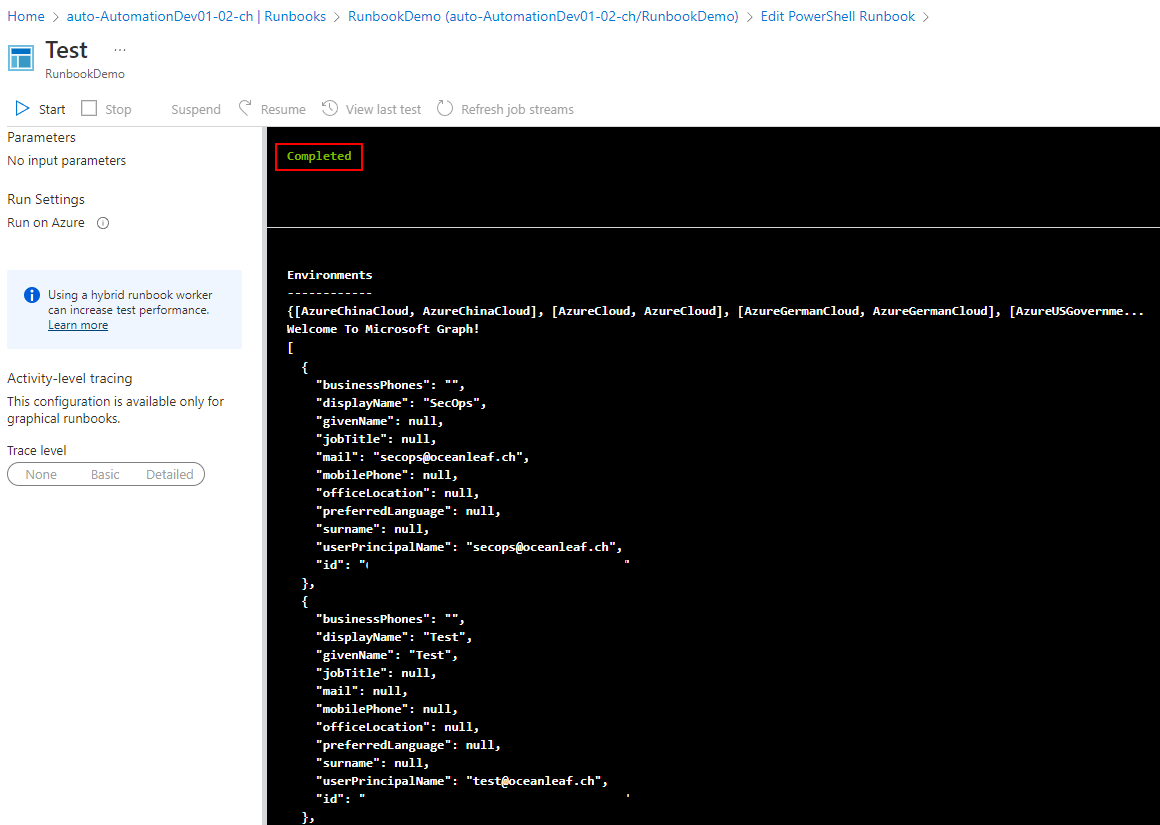
Invoke-MgGraphRequest -method GET -Uri "https://graph.microsoft.com/v1.0/users/" -OutputType PSObjectNow in the test pane, we can see that it completed successfully, connected to Microsoft Graph and gave a propper response.
Deep dive: environmental variables for token obtainment for the Managed Identity
MSEndpointMgr highlights another method to obtain a Graph API access token. It involves two environmental variables $env:IDENTITY_ENDPOINT and $env:IDENTITY_HEADER. In a nutshell, the Runbook will send a request to its private endpoint (Identity endpoint), that will talk to Graph to acquire an access token through the Managed Identity (Identity header).
#Obtain AccessToken for Microsoft Graph via the Managed Identity
$resourceURL = "https://graph.microsoft.com/"
$response = [System.Text.Encoding]::Default.GetString((Invoke-WebRequest -UseBasicParsing -Uri "$($env:IDENTITY_ENDPOINT)?resource=$resourceURL" -Method 'GET' -Headers @{'X-IDENTITY-HEADER' = "$env:IDENTITY_HEADER"; 'Metadata' = 'True'}).RawContentStream.ToArray()) | ConvertFrom-Json
$accessToken = $response.access_token

#Connect to the Microsoft Graph using the acquired AccessToken
Connect-Graph -AccessToken $accessToken
Assign permissions to Azure resources (IAM)
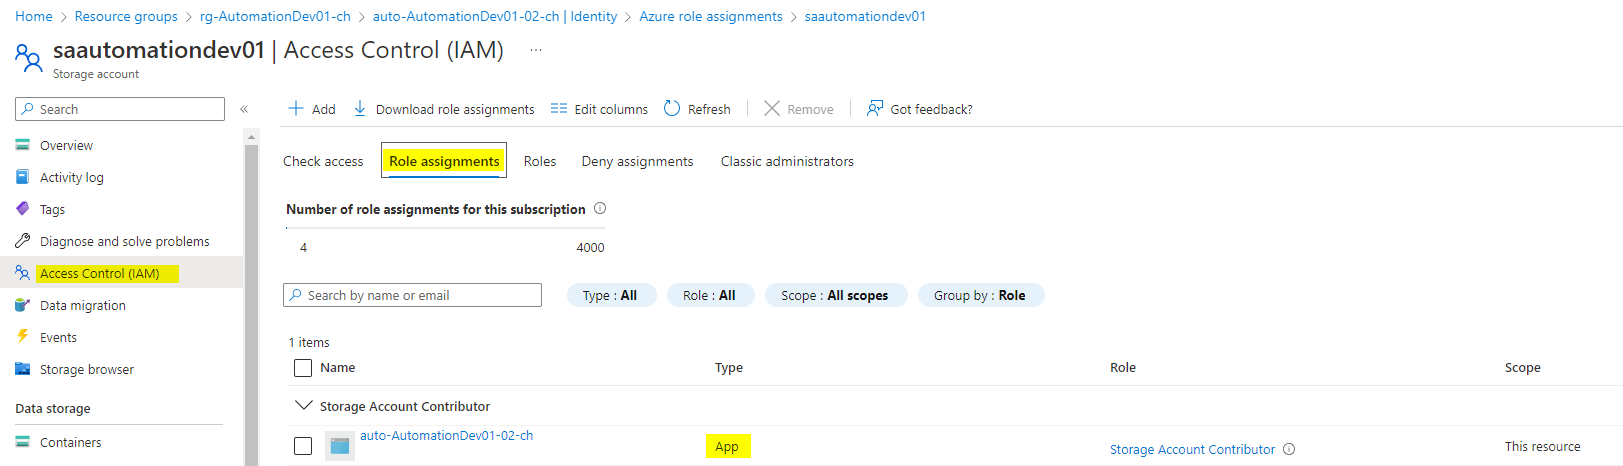
To grant permission to the Managed Identity towards other Azure permissions is quite simple. Just go to Identity>Azure role assignments.
Now click on Add role assignment, choose the scope (level of where the permissions should be applied, for inheritance reasons), subscription and the RBAC role.

The permissions can be reviewed under the resource>Access Control (IAM)>Role assignments, now look for 'Type == App'.