Device management RBAC design (Intune & Entra ID)
Introduction
This post is the part 2 of my initial writing on RBAC in Intune.
My intention is to explain a real world example on RBAC design with Intune and Entra ID, since device operations can be made on the Intune device object, but also on the Entra ID device object. From both sides you can perform different tasks and therefore need different roles. Simpliy put, with RBAC you can control who can do what.
Role Based Access Control
RBAC areas
| Intune | Entra ID | |
|---|---|---|
| Roles | Intune specific + inherited from Entra ID | Entra ID |
| Device type | Enrolled to Intune for management with Intune | Joined to EID for trust and SSO |
| RBAC mechanism / scoping of devices | Scope tags | Administrative units |
| Administrative tasks | -Remote actions on Intune devices -Read/write in Intune portal |
-Manage device objects in Entra ID -View BitLocker keys -View LAPS metadata and credentials |
| Just in time access | n.A. built-in (Privileged Access groups with manual setup would be possible) | Privileged Identity Management |
| Custom role support | Yes | Yes |
Scope tags
Scope tags is an Intune feature that allows to set a tag (essentially an attribute) on any content in Intune such as devices, profiles, apps and more. The whole idea behind it is, that admins can only manage resources assigned with a specific tag. Common real world examples are:
- Remote IT admin only needs to view and manage devices in his location
- An IT admin only needs to view and configure a subset of profiles and apps
There is already a great blog post on scope tags from my colleague Nicola Suter, if you are more interested in this topic.
Administrative Units
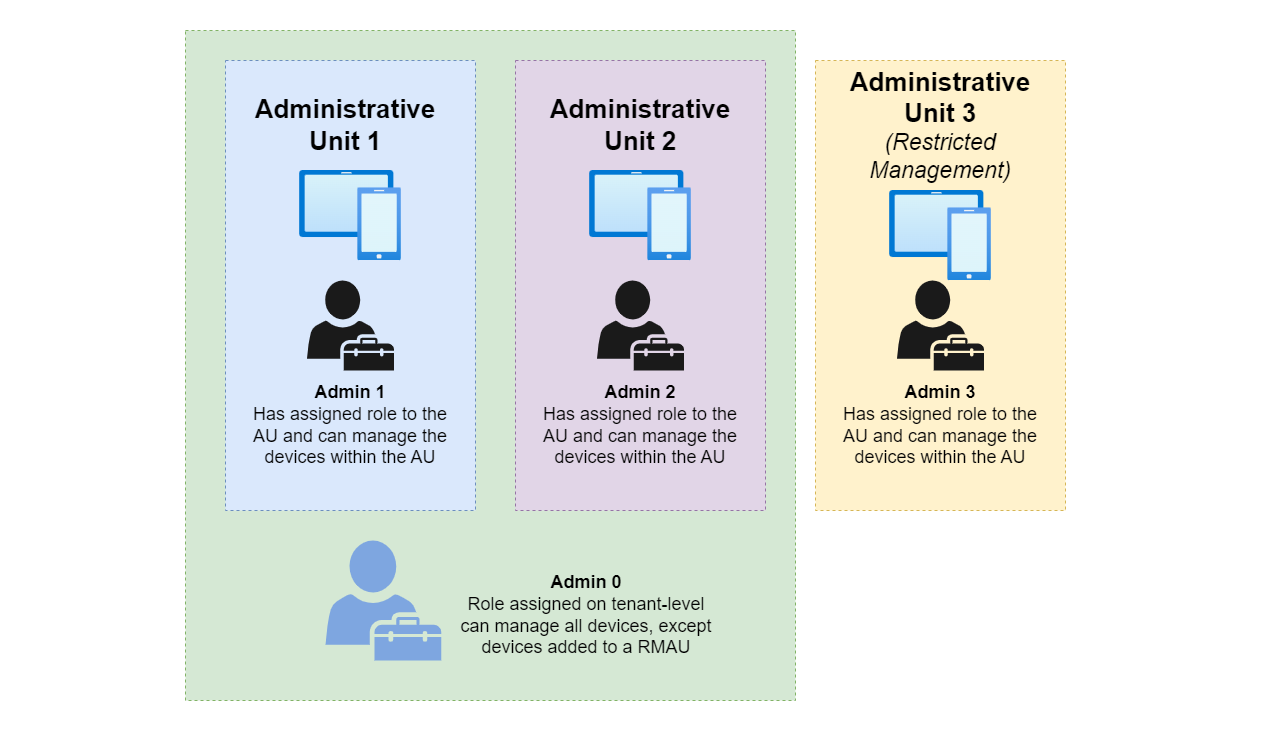
Administrative Units are a virtual container inside of Entra ID. You can either add users or devices to an Administrative Unit. Entra ID roles can then be assigned on the scope of that Unit, but not the whole directory. This allows IT admins to only manage a subset of all users and devices.
Restricted Management Administrative Units
There is a new feature called Restricted Management Administrative Units (RMAU). These are just like Administrative Units, but require allow for explicit management. An administrator must be assigned a privileged role on the RMAU to manage the identities which are member of the RMAU (users/devices). Tenant roles do not apply for any identity within the RMAU. (Except for Global Admin and Privileged Role Administrator).
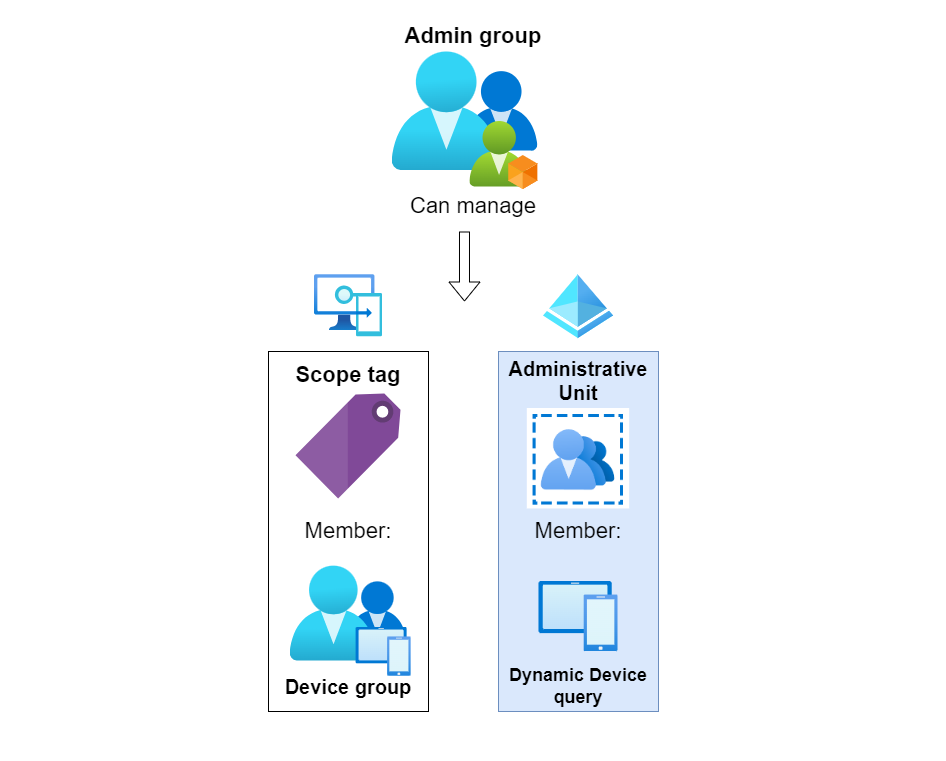
Design
Combining these two features, the whole setup could be designed accordingly. This setup would allow you to have a single admin group which can manage device aspects from Intune and Entra ID.
Prerequisites
To setup this, follow the steps below. Please make sure you have the following prerequisites:
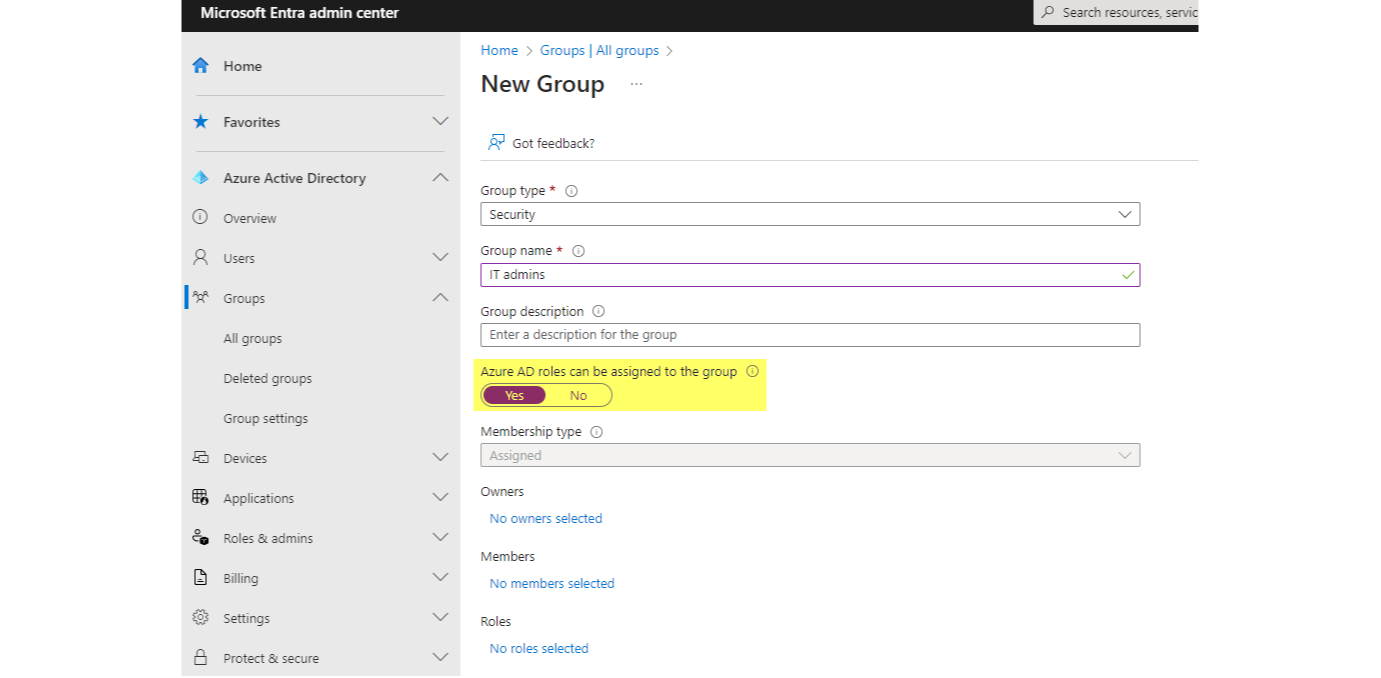
Entra ID security group for IT admins
Create a security group with assigned membership, where admins can be added.
Entra ID security group for devices
Create a security group with dynamic device membership, this will automatically add devices based on a query to this group.
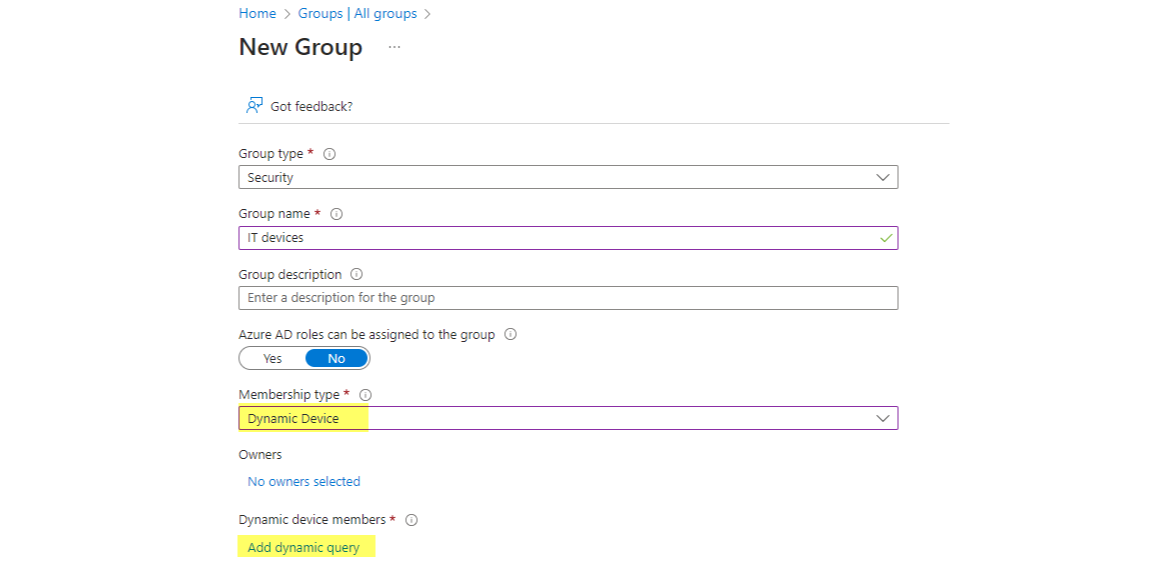
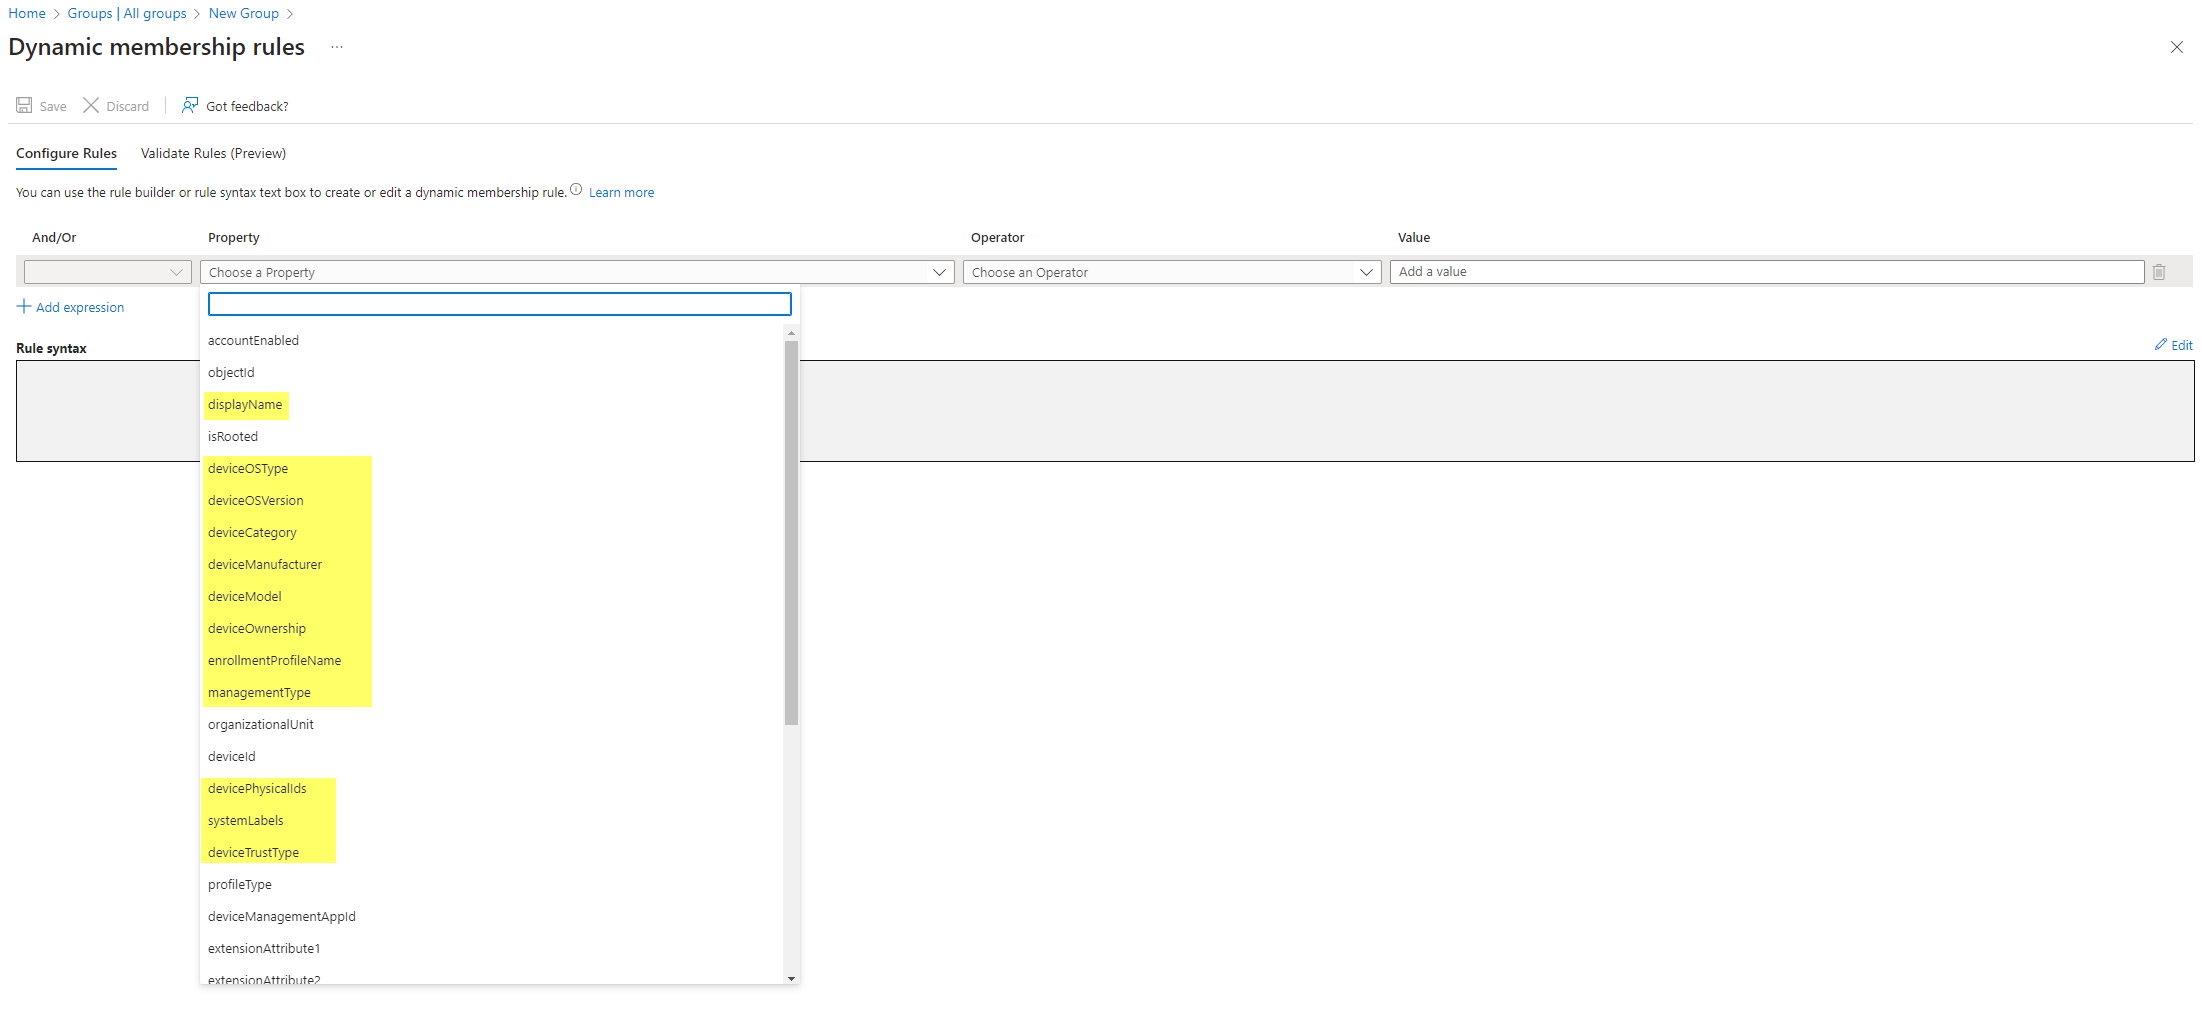
Next you want to edit the dynamic query. I have highlighted in yellow the properties which could be helpful. From my experience you could use:
- enrollmentProfileName, according to the profile name which was used in Intune
- devicePhysicalIds, possible to work with GroupTags
- deviceModel, often hardware vendors (such as Lenovo) have different Model identifiers according to the keyboard layout, this could be the simplest way to identify devices in multiple locations
Entra ID setup
- Let's start with the Administrative Unit which you can create from Azure
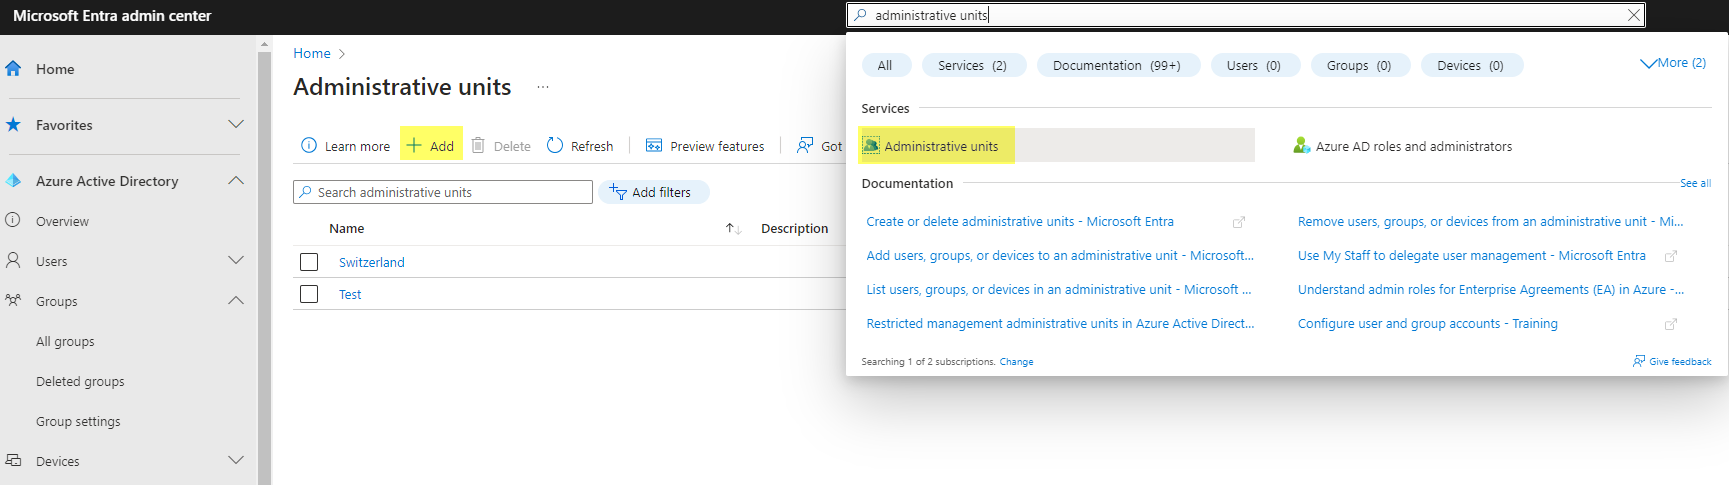
- Name the Unit and create it
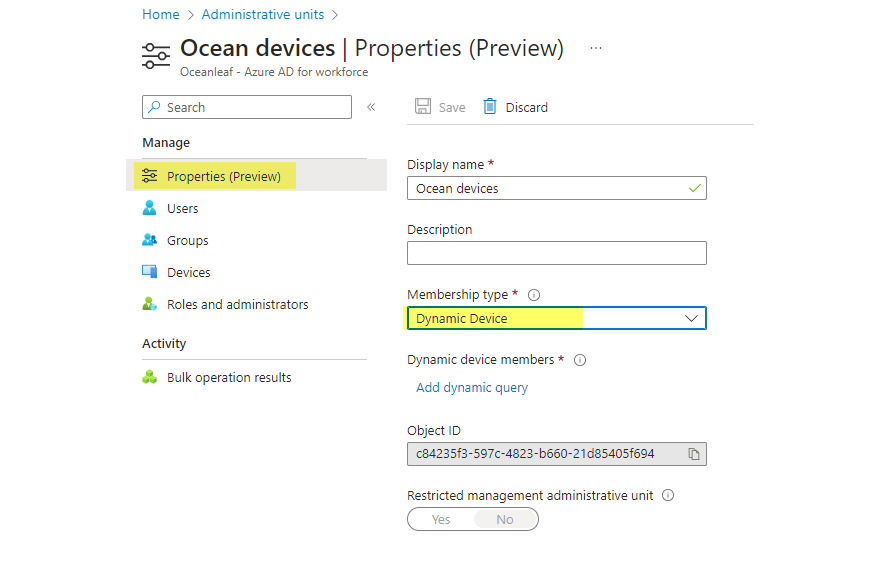
- Under Properties you can switch the membership to dynamic device and add the same query as from the device group created previously
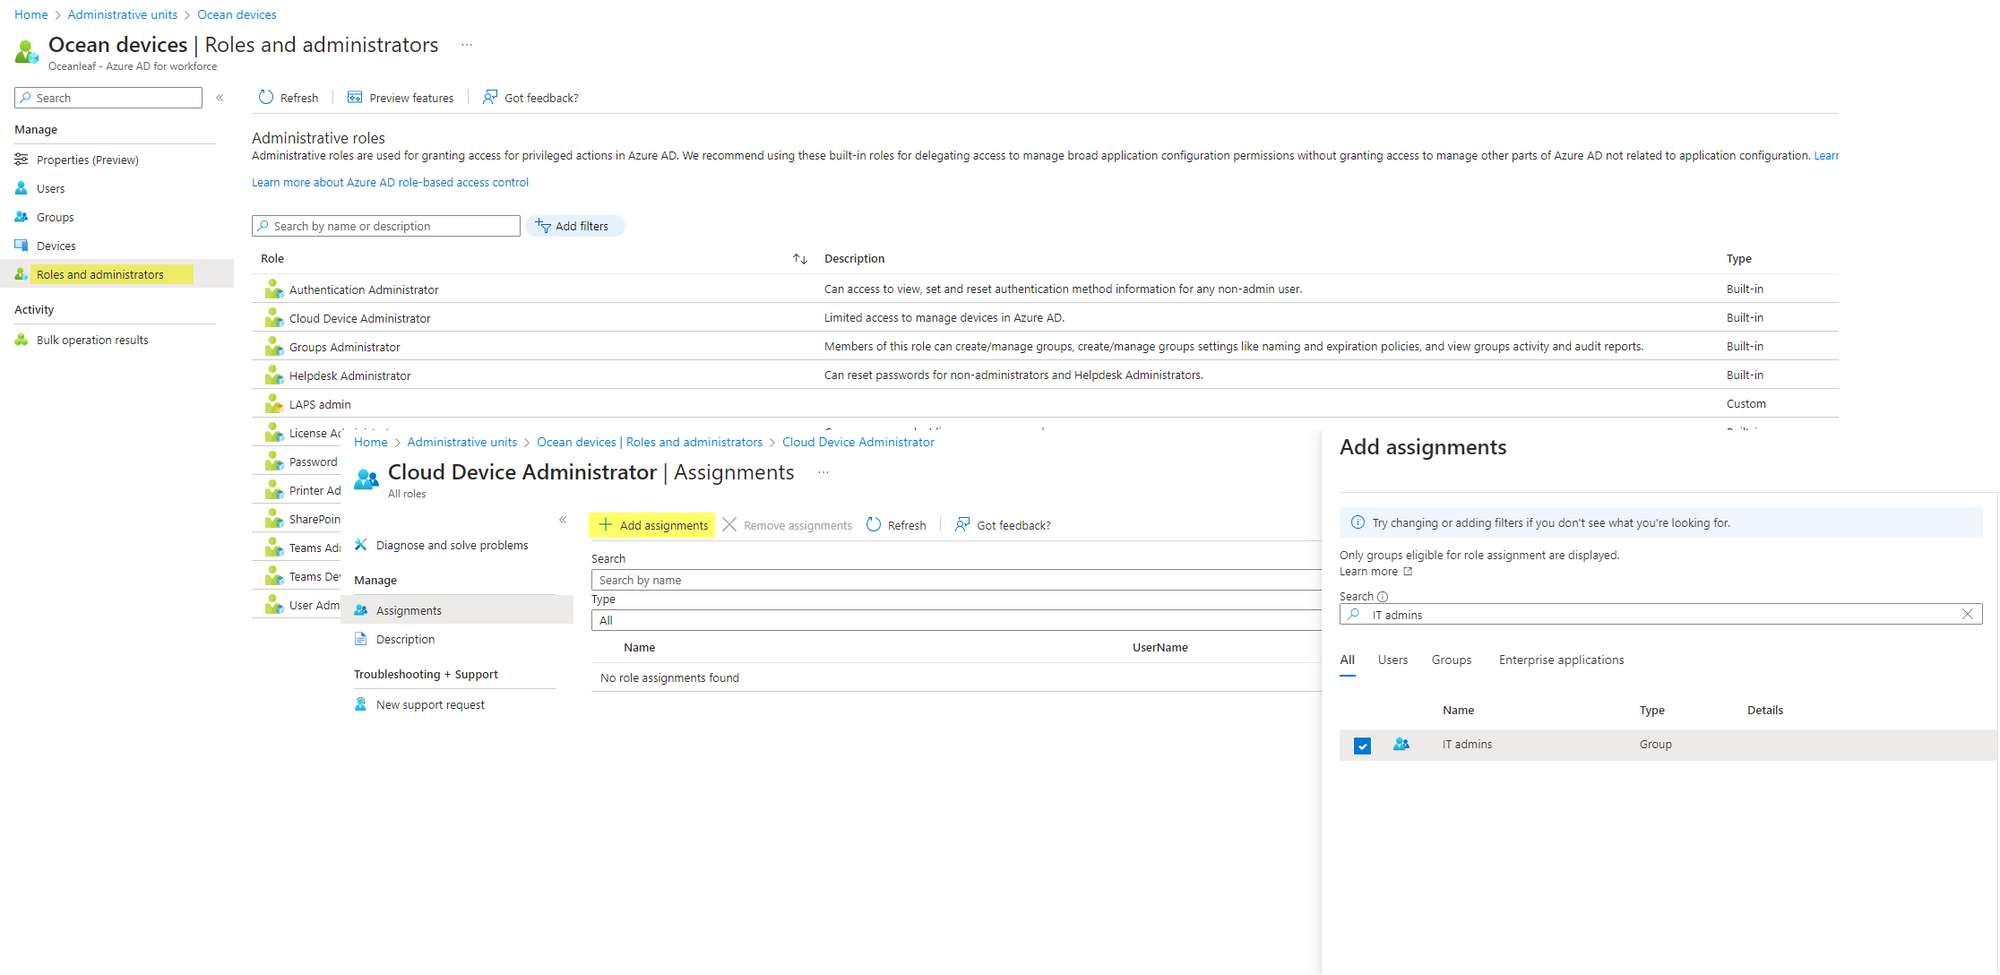
- Assign the desired role (for device related actions choose the Cloud Device Admin)
Intune setup
Let's go through the Intune setup of scope tags, roles and assignments.
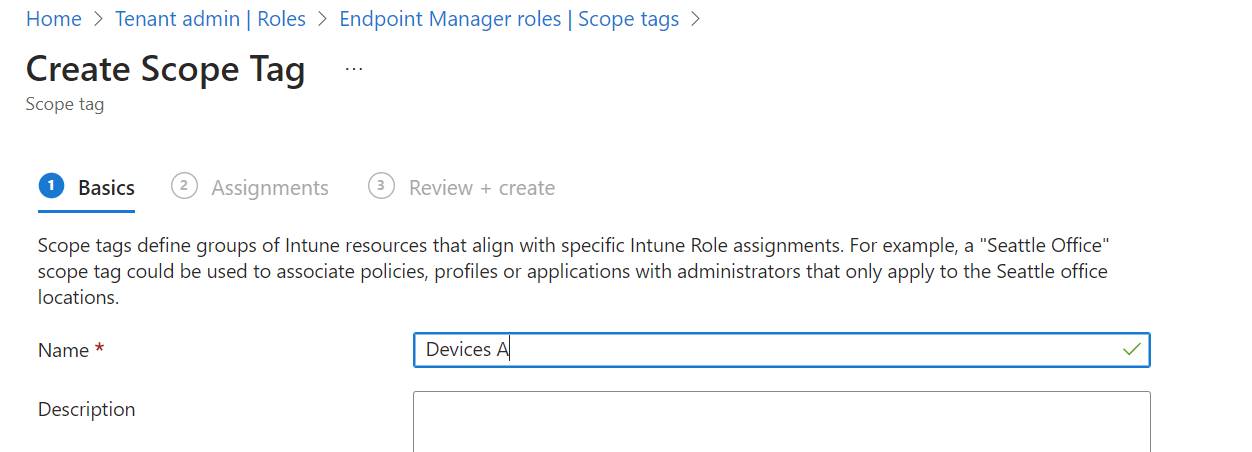
Create new scope tag
- Go to Tenant administration>Roles>Scope Tags and add a new tag
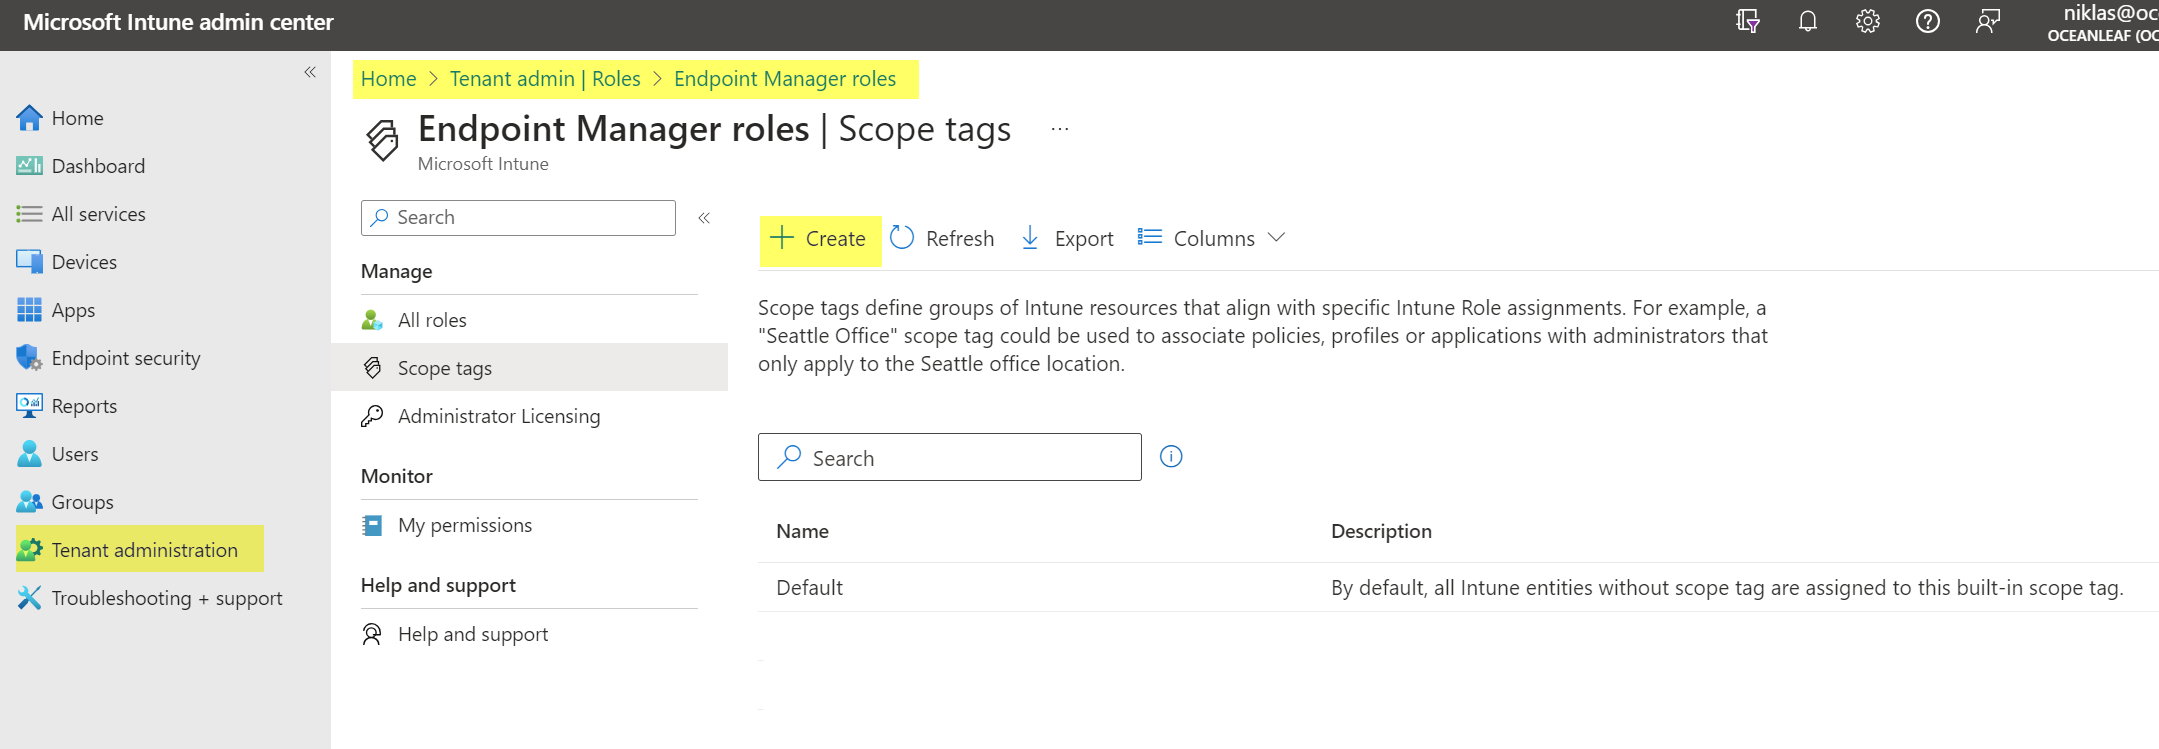
- Name the tag
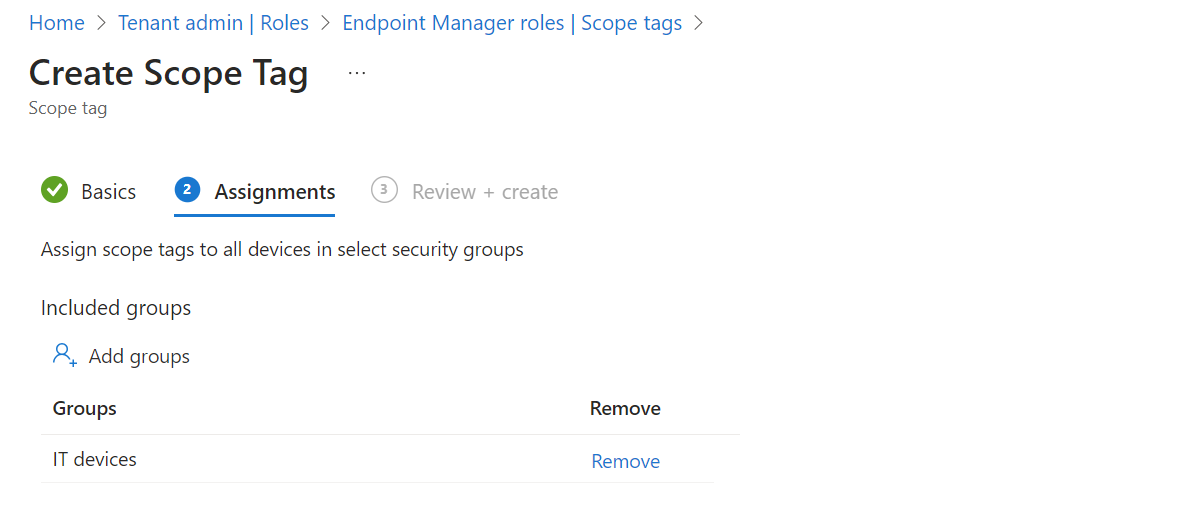
- Assign the devices group that we created previously. This will add this scope tag to all devices which are member of that group.
Assign role to scope tag
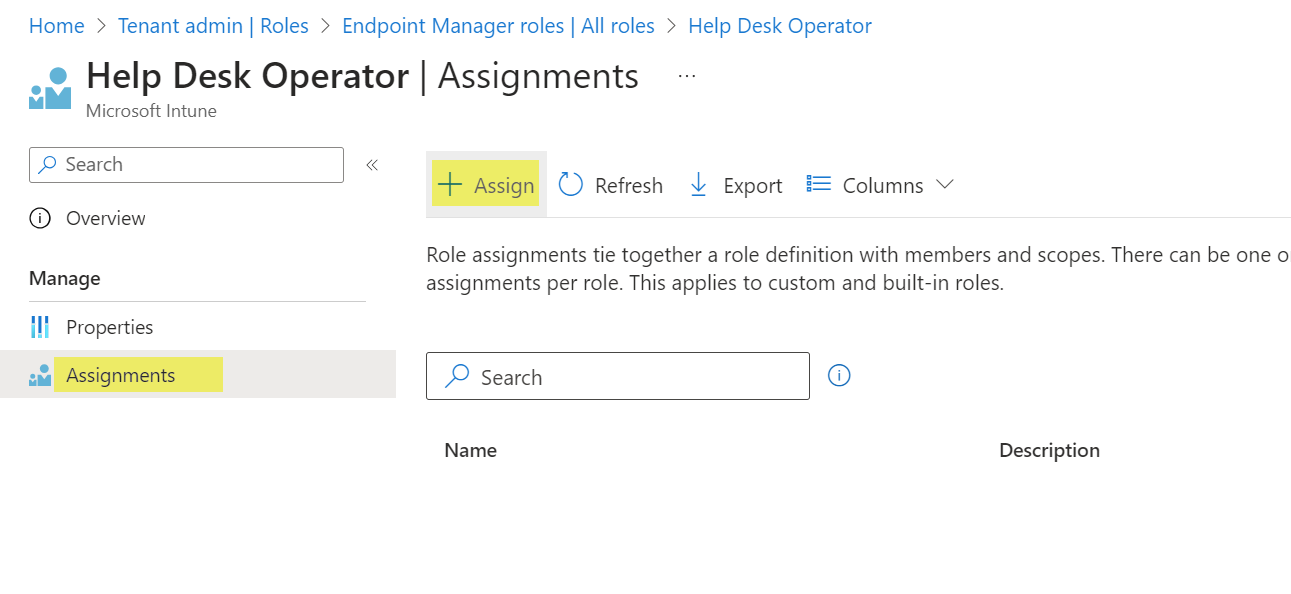
- Go to Tenant administration>roles, here you can see all built-in Intune roles. Custom roles are also supported. Learn more
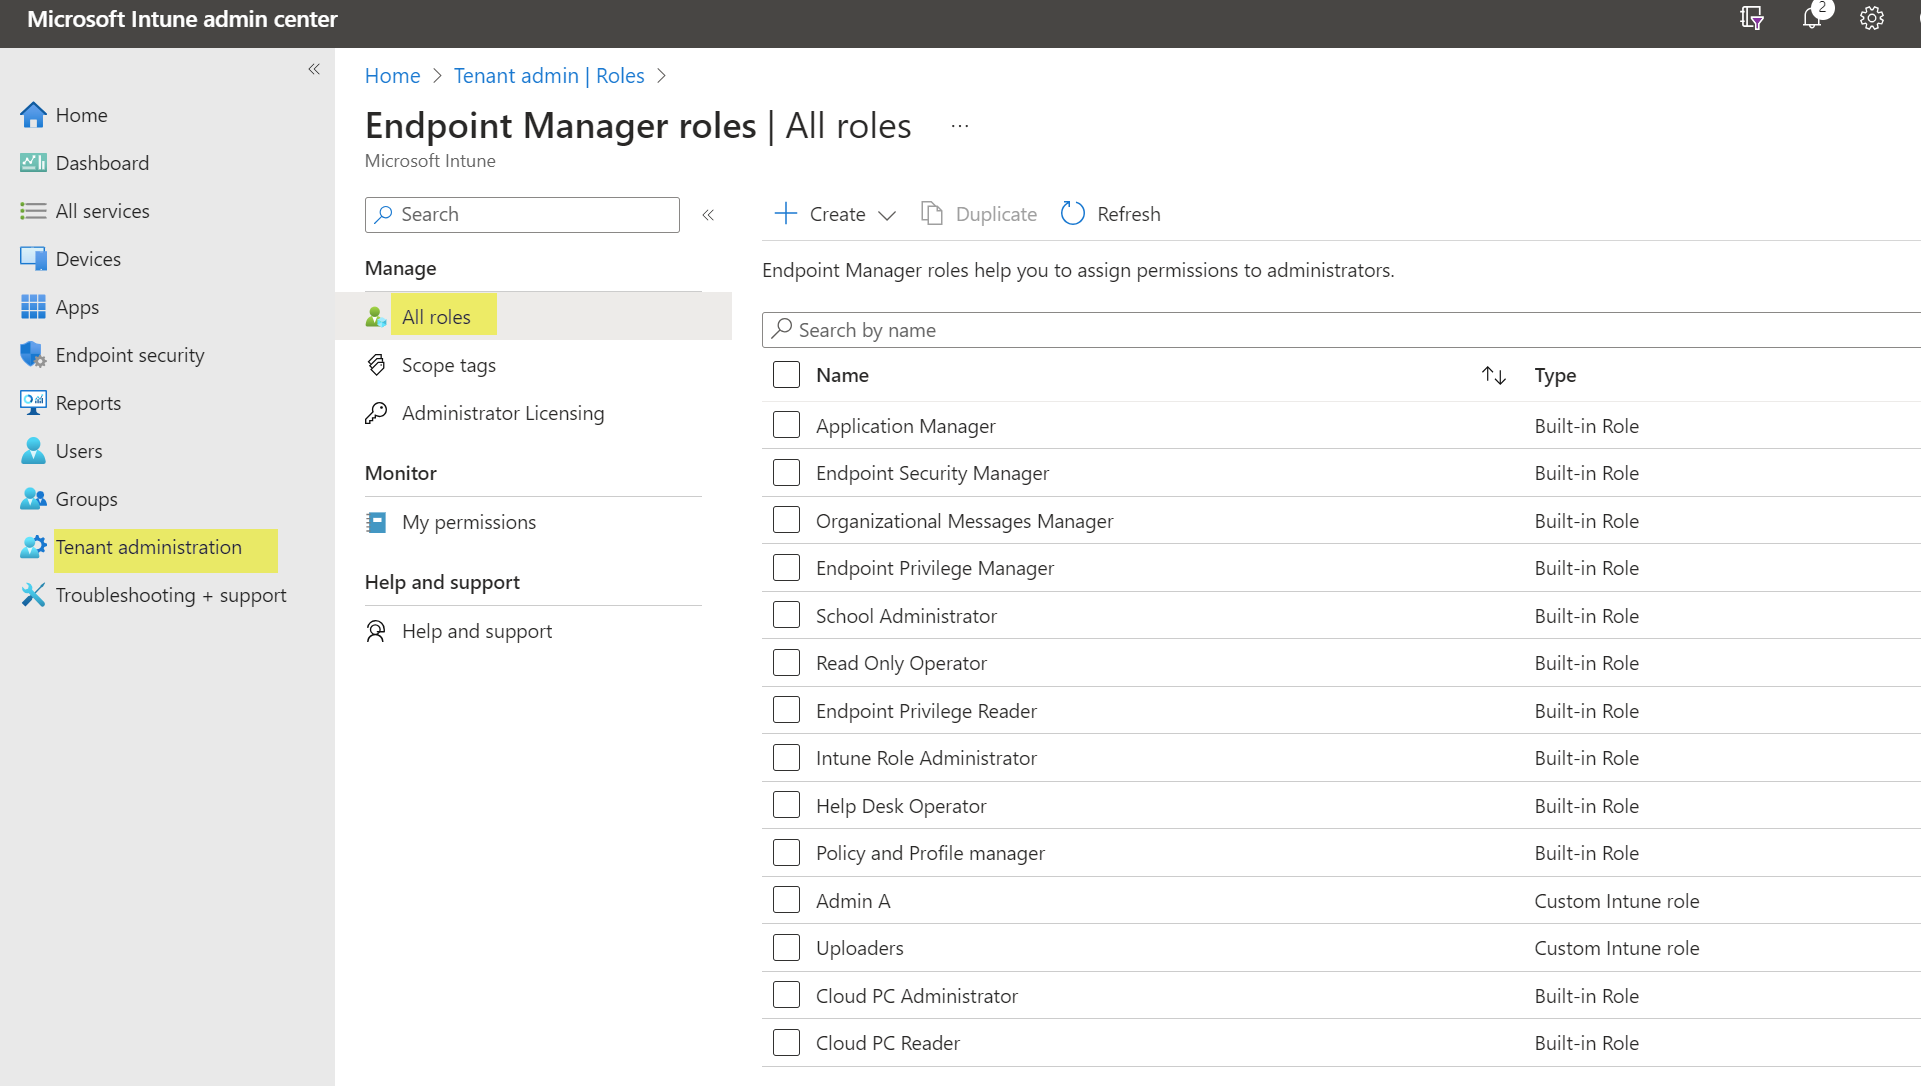
- Choose one of the roles and add an assignment
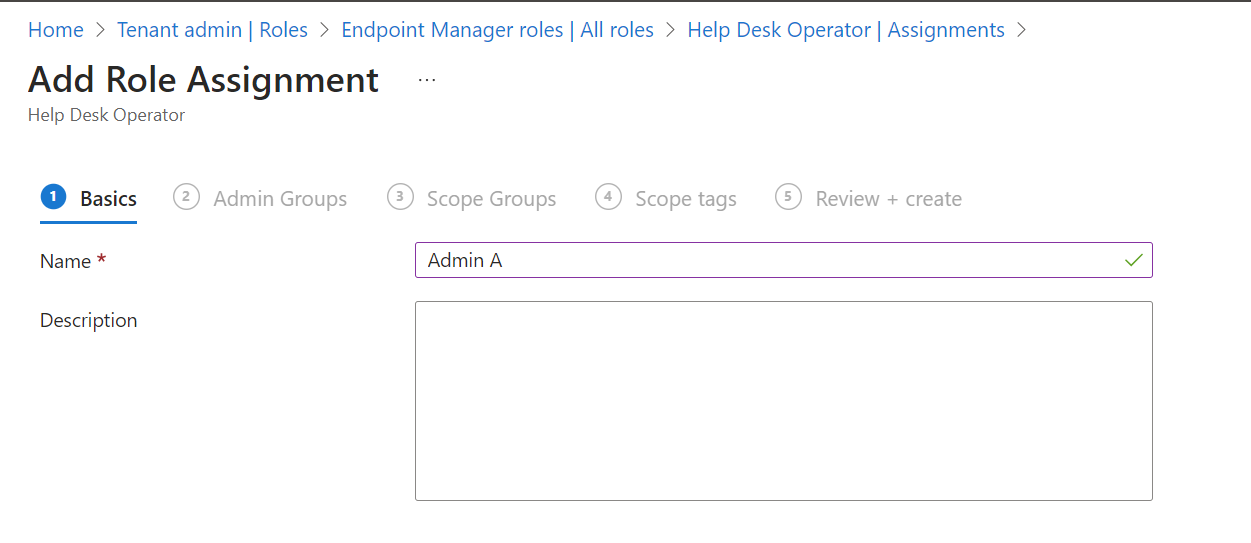
- Name the assignment
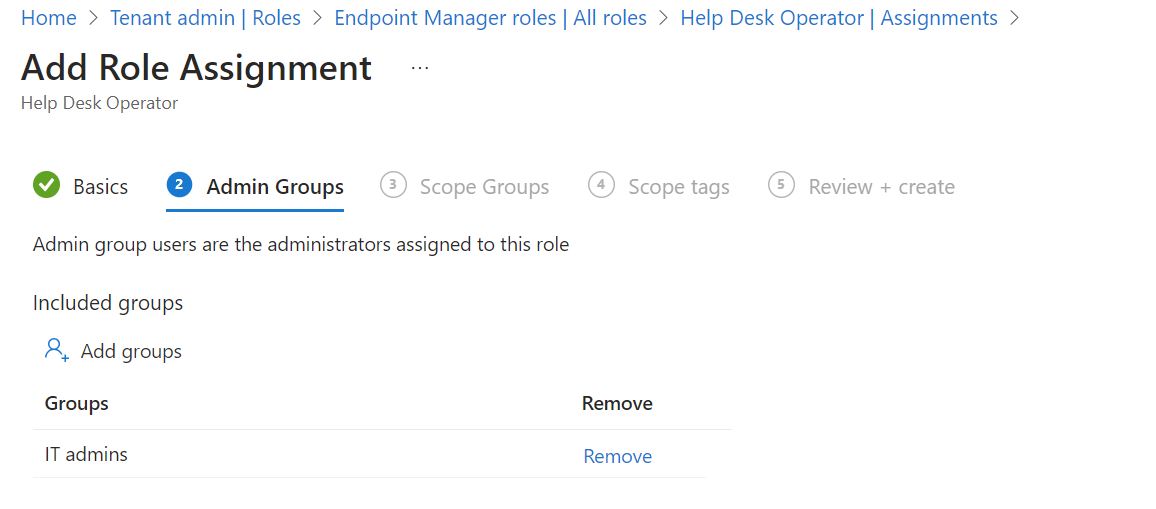
- Add the admin group that we created previously
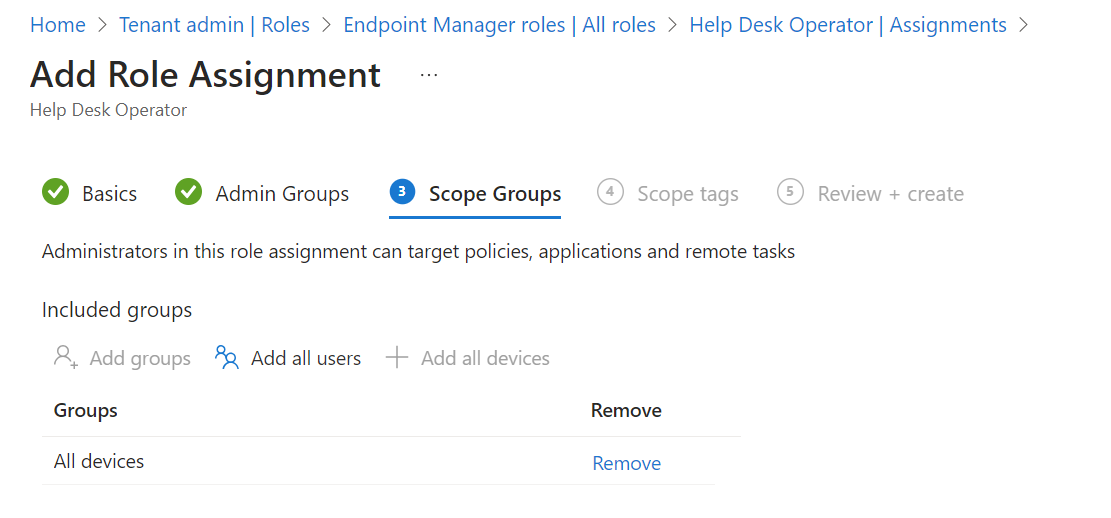
- You could even filter more for groups. I recommend to add all devices.
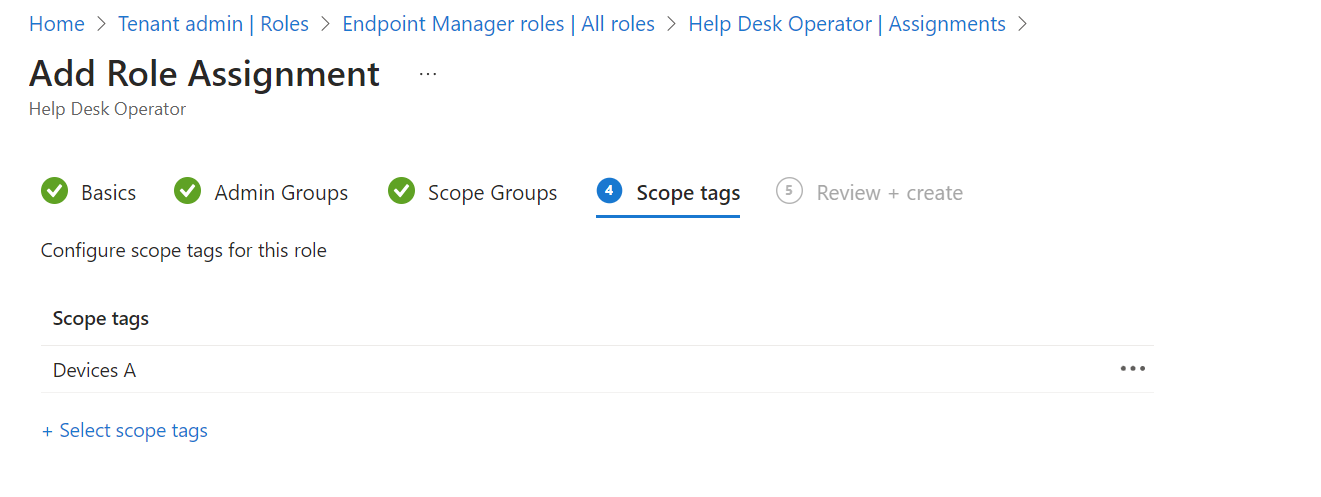
- Select the scope tag that we created before
Finished 🥳 With this configuration from Entra ID and Intune:
- All members of the "IT admins" group can only view BitLocker keys and LAPS passwords for the devices added to the "IT devices" group
- All members of the "IT admins" group can only perform remote actions for the devices added to the "IT devices" group
- Admins which have a role assigned at the tenant-level can manage all devices. (Except if a device is added to a RMAU)
 Niklas Tinner