
Defender for Cloud Apps alerts into Teams channels
Defender for Cloud Apps offers an alert page by design, providing an overview of detected ongoing or past identity anomalies. But why not use Microsoft Power Automate to catch these events and send them to Microsoft Teams, as your single information portal. This is a tutorial how to configure this solution. Please note that Defender for Cloud Apps should already be running and generating alerts.
Microsoft Teams - how the solutions looks like
You can see a Microsoft Teams channel called SecOps. Messages in here are generated automatically through Microsoft Flow, the information/alert notifications are coming from Defender for Cloud Apps.

Cloud app security alerts
-
To start, we first need to open to the Defender for Cloud Apps portal
-
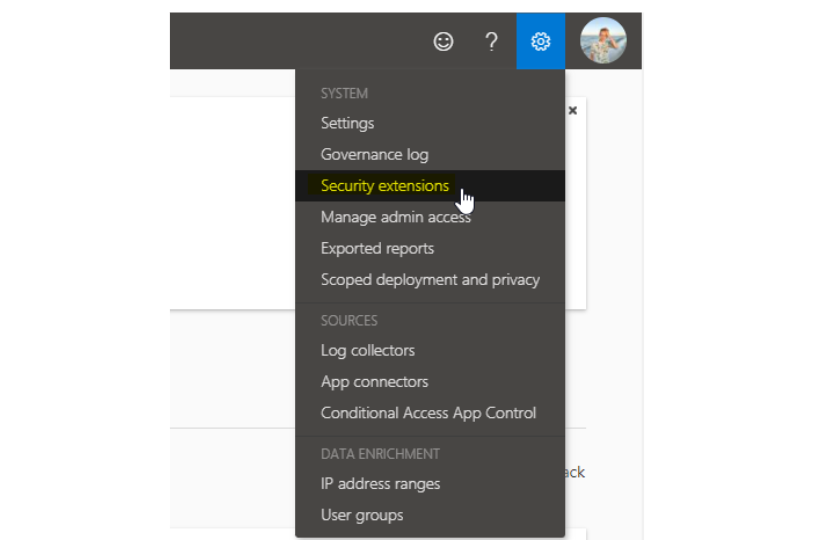
At the top right, click on settings and choose Security extensions
-
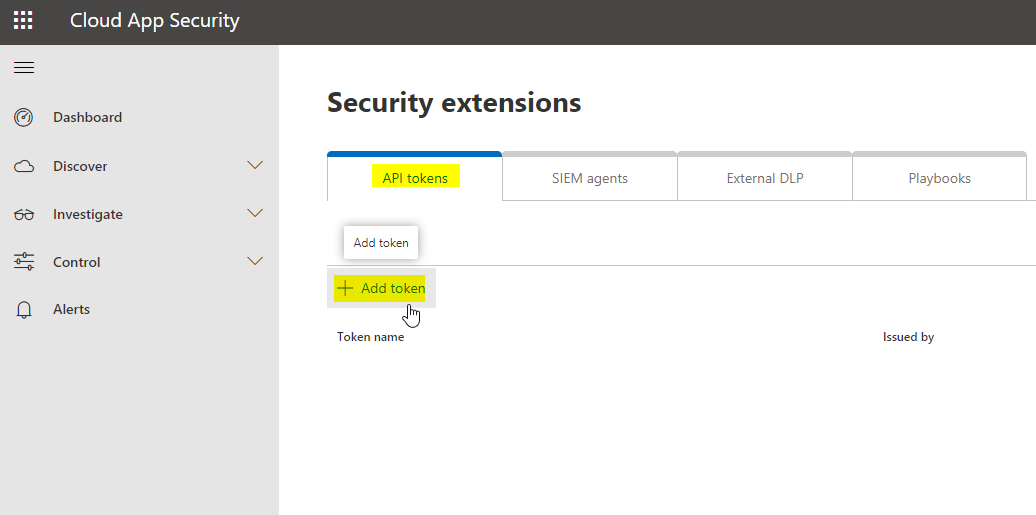
Now add an API token, and give it a name
-
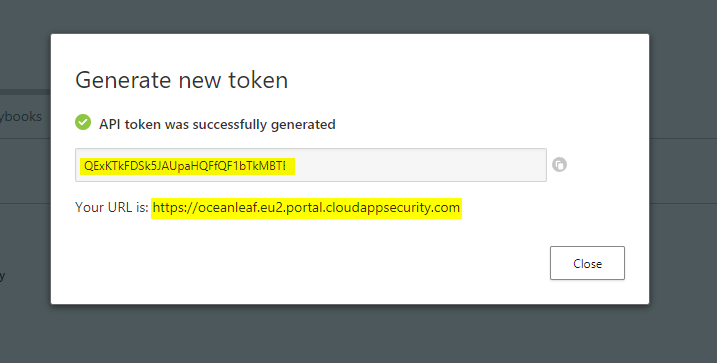
Copy your individual token and the connection URL, that is displayed
Policy settings
In Defender for Cloud Apps we differentiate between:
- Policies - are active templates that will produce alerts
- Templates - are blueprints that can be used to create alerts
So we need to customize each policy, that should cause some sort of action. In this example Microsoft Flow. On the left pane, go for Policies under Control and click on settings of the policy you want.

Scroll down to the Alerts section and enable the checkbox at "Send alerts to Power Automate". Here we can choose playbooks that are technically Flows.

Power automate - flow
-
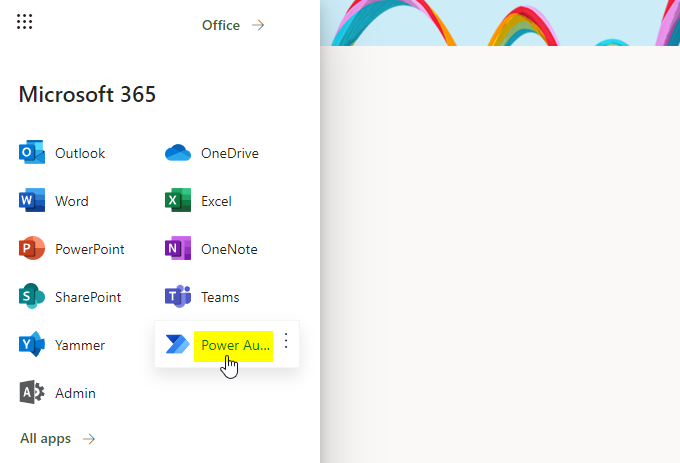
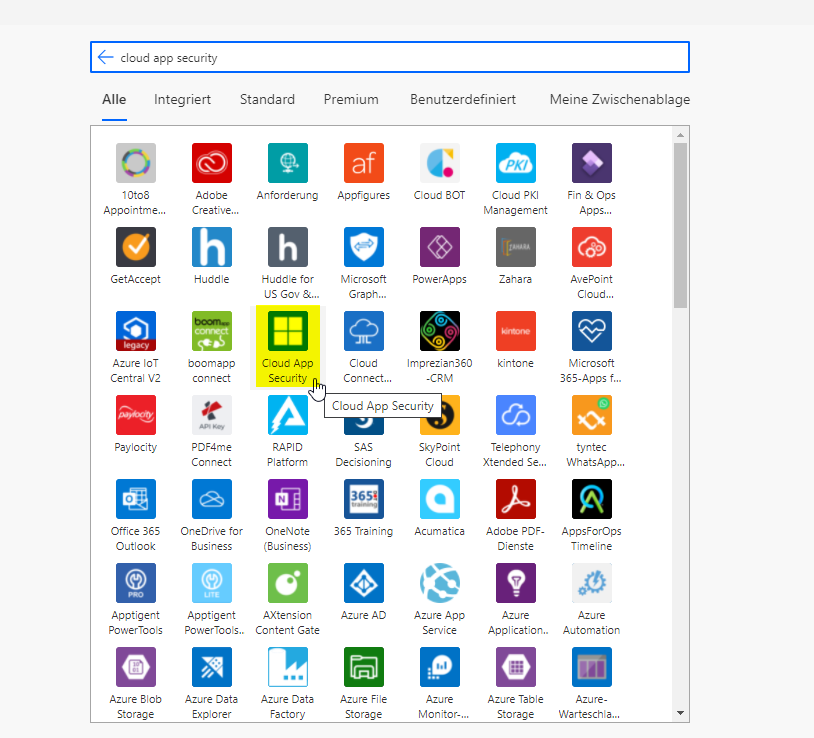
Next we are going to create our flow from the Microsoft Power Automate portal, that is accessible through portal.office.com - I would advise you to use a dedicated user for Flow tasks.
-
Create an automated Cloud-Flow and skip the trigger

-
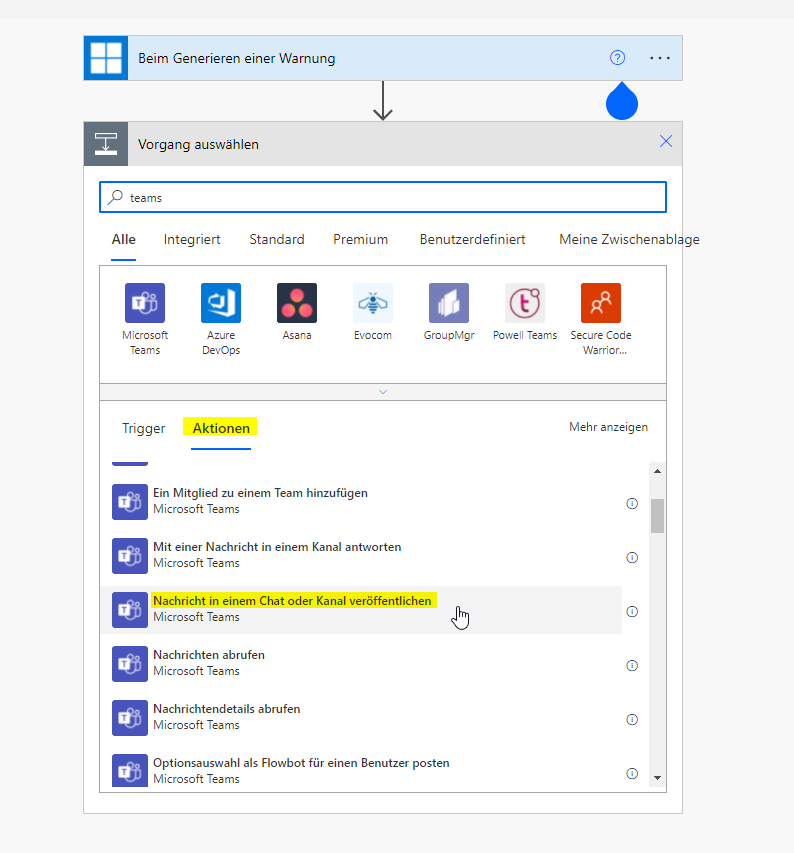
You now need to search for Defender for Cloud Apps. Currently there is only one trigger called "when an alert is generated"; which we need to select. Insert the Token and connection URL from the step before.
-
Then add an action, which is called "Post message in chat or channel"
-
Either publish the message in a channel of a team or in a personal chat with Flow. I am going for a channel, which I have created before.
Select a team and channel and enter some payload. In my example it constitues of some basic attributes. These are displayed in a box, which means that this is dynamic content that was originated from the trigger, in this case Defender for Cloud Apps. So every message contains the individual information of the CAS alert.

Now after a validation, the Flow should be working. You can test it manually or re-run an event from the past.